Simplifying the No-Knead Bread
This is a guest post from Sofya of The Girls’ Guide to Guns and Butter. Welcome, Sofya!
Growing up in Baku, the capital of then-Soviet Azerbaijan, I was spoiled by an easy access to some irresistibly delicious fresh bread – always made the day you bought it, often still quite hot. From factory-made French loaves to traditional naans that emerged from the tandoor ovens of street-corner operations, these bore no resemblance to the days-old, preservatives-laden packages I was faced with in my Wisconsin town of 4000.
It didn’t take long to realize that to enjoy the quality and the freshness I was used to, I would have to bake bread myself. Since great bread was widely produced and very affordable back home, it was uncommon for a city dweller like myself to know how to bake their own, so I had to learn from scratch.
Over the years, I have experimented with many different recipes – from wild sourdough to various yeasted varieties, but it wasn’t until I came across no-knead that I was finally able to reliably churn out great bread with regularity and ease.
No-Knead Bread: the Method
The simple method involved mixing all of the ingredients, letting the dough rise for a rather flexible stretch of time (anywhere between a few hours to overnight), and baking it at a really high heat after some minimal shaping and some extra rising time in a preheated dutch oven.
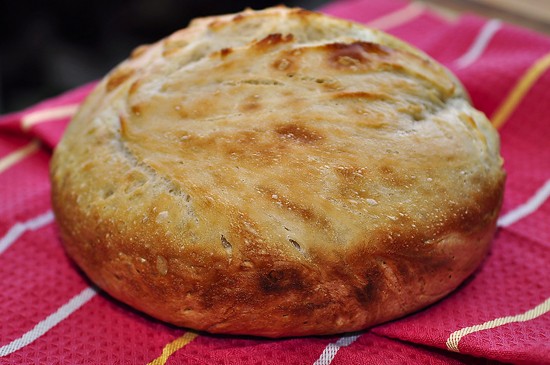
The steam trapped by the pot’s lid contributed to the crispy, chewy crust, while an extremely hot pot assured that the loaves would rise high and fast.
To streamline this process even further, I began to omit both the shaping of the dough into a loaf before baking and the second rise, cutting down on time, work, and, most importantly, the mess. I have also nearly doubled the original recipe to accommodate my family’s hearty appetites.
I cannot begin to tell you how thrilled I am to be sharing my simplified adaptation of this excellent, fail-proof recipe here at Simple Bites.

Ingredients
- 6 cups all-purpose flour you may substitute up to 2-1/2 cups with whole-wheat or other kind of wholegrain flour
- 3-1/2 teaspoon table salt
- 1/2 teaspoon active dry yeast sprinkled over 1/2 cup of warm water between 110 and 115 degrees F
- 3 cups water at 110 to 115-degree F
Instructions
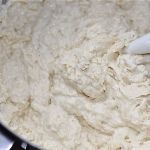
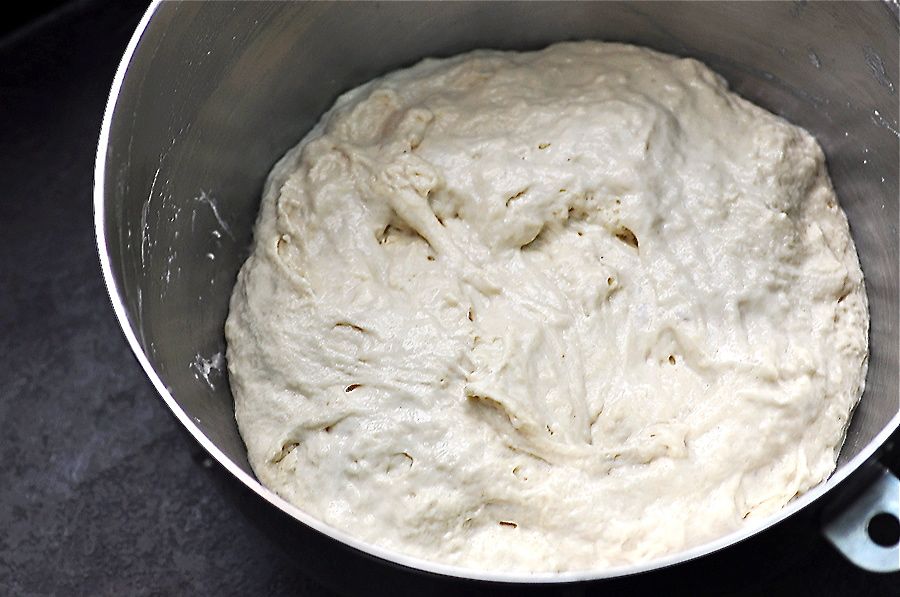
- Mix all ingredients together in a bowl of a stand mixer using the paddle attachment (I always start at the slowest speed to avoid flour flying into the air, and once most of the flour is incorporated, I switch to the second-slowest speed to finish).
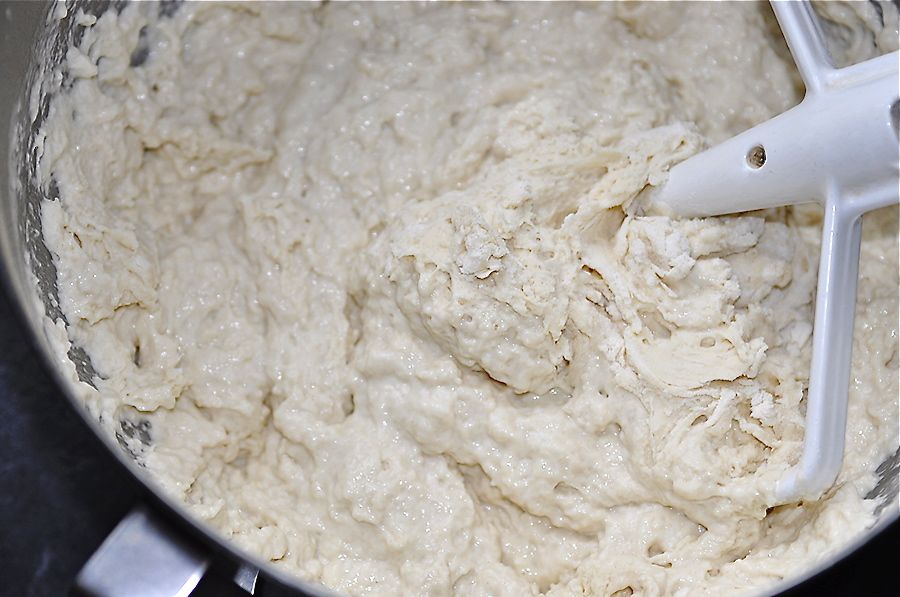
- Alternatively, use a wooden spoon to mix everything in a large bowl. When you are done, your dough will look like this:

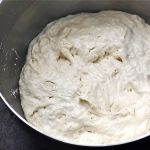
- Next, use a bowl scraper or a rubber spatula to scrape the sides of the bowl and to compact the dough neatly on the bottom:
- Cover the bowl with a plate and allow the dough to rise at room temperature from between 4-5 hours to overnight.
- I usually make my dough in the evening and then bake it the following morning, but I’ve also been known to increase the amount of yeast to 2 teaspoons for a quick two-hour rise in a pinch.
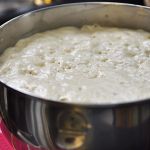
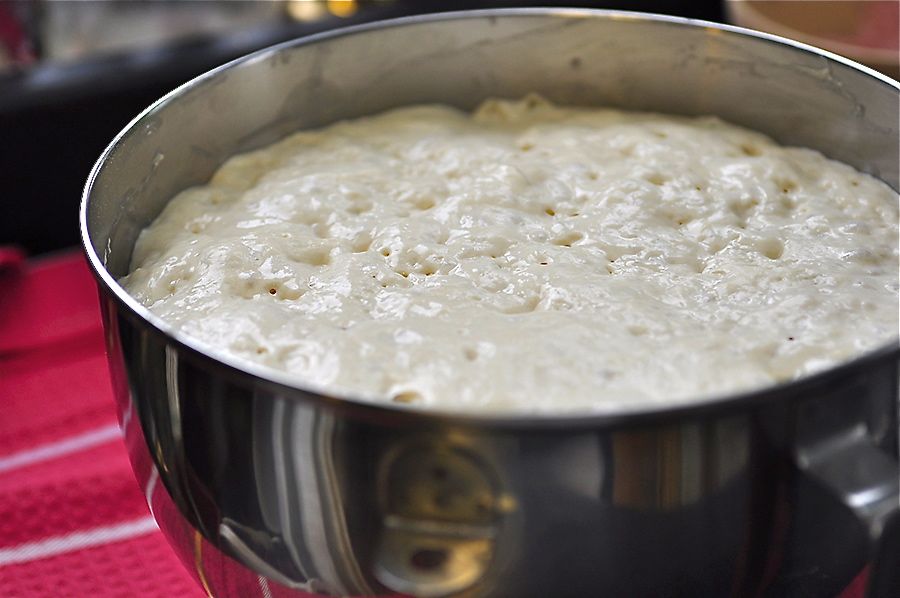
- The dough is ready to bake as soon as it has doubled in bulk and the surface has become dotted with air bubbles:
- Half-an-hour before you intend to bake, place your dutch oven into the oven and set the temperature to 500 degrees F. Set the timer for 30 minutes.
- Both an enameled and a non-enameled dutch oven will work. Since I bake nearly daily, I keep a dedicated Lodge 5-Quart Pre-Seasoned Dutch Oven specifically for this purpose:
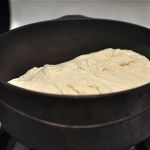
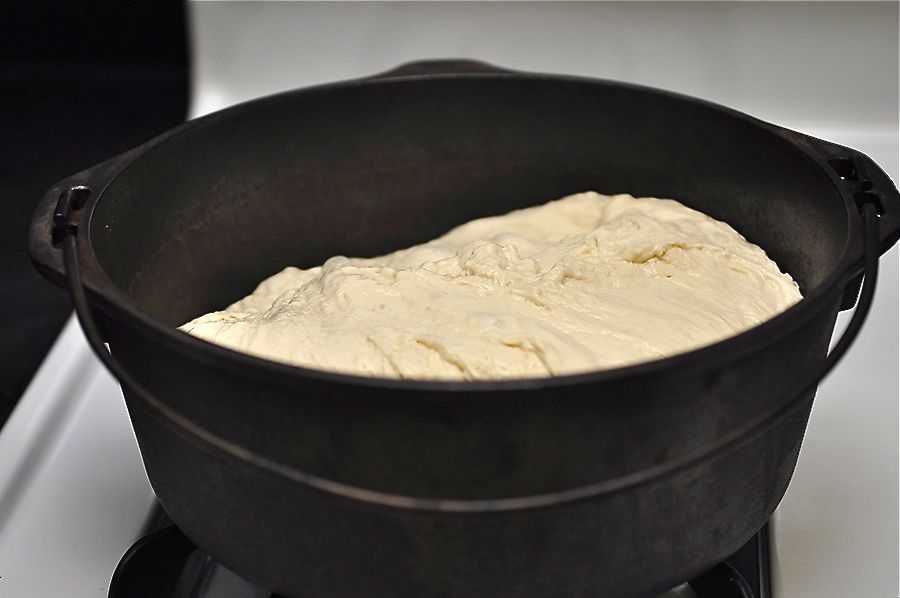
- Once the timer goes off, pour your dough directly into the hot pot, using a bowl scraper or a rubber spatula to make sure all of it goes in. Note that it won’t have much of a shape at this point:
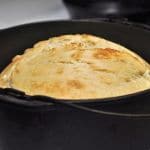
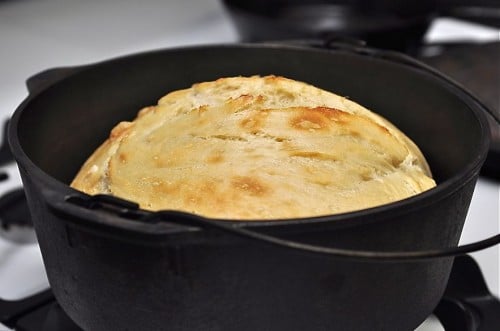
- Set your timer for another 30 minutes. If your loaf appears a little pale upon emerging from the oven, keep the lid off and return the bread to the oven for the additional 3-5 minutes, or until the loaf is browned to your liking.
- Just keep in mind that, if you keep it in there for too long, the loaf might stick to the bottom of the pot and be difficult to remove. If this happens, allow it to cool in the dutch oven as the loaf will pull itself from the bottom as it cools and shrinks.
- A word of caution: Your pot will become incredibly hot in the 500-degree oven, so be sure to double-up your pot holders!
Notes
Nutrition
Now wasn’t that simple? Give it a try and come back and tell us what you think.


It takes a few, yes. Your knife long/sharp enough? Don’t buy different flour for that reason alone.
When I bake my bread ( recipe pretty much same as yours ) I put a piece of parchment paper in my cast iron dutch oven, and the finished bread pops right out. Enjoyed reading your recipe.
Made this morning – came out great – I was skeptical because there is no butter in the recipe but it was super moist! The inside was a bit undercooked so i just put it back in the oven for another 5 mins and it was perfect! Thanks for a great no knead recipe – will definitely be making it again
You know I’ve made thousands of loaves of bread in my life and never added butter to white bread. Never needed to! Wholewheat maybe.
I have been making this every week for 2 months, just writing to thank you. I would never have time to make home-made bread other than this one — I can’t believe it really only takes 5 minutes of work (stirring everything together), and I love the lack of “extras” in the list of ingredients (no sugar, butter, no need to oil the pan, etc.). I used half whole wheat, half unbleached white flour, and added 1/4c each of millet, sunflower seeds, flax seeds, and sesame seeds.
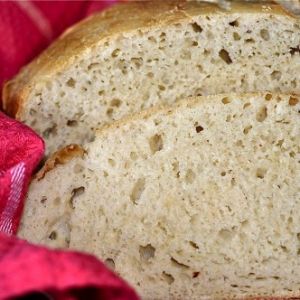
To those who are wondering, this is a crusty, dense loaf, excellent for mopping up a bowl of stew. If it takes a few strokes of the knife and it’s quite moist inside, that’s how it’s supposed to be. I learned the hard way not to cut it until it’s almost cool, or else the inside never fully cooks and is too wet. But it’s hard to resist! It really does need a tbsp of salt — consider that this makes a 4lb loaf, about equivalent to 3-4 commercial loaves. I figure it costs me about $2 a loaf, including all the seeds I add — incredible compared to the price of buying 4 loaves of artisan bread! And tastier 🙂
First, thank you, Sofya, for making my foray into bread-making both simple and joyful. From including the hyperlink to purchase the Ldoge brand Dutch oven, to including pictures for what my product/process should look like, to your readers’ comments that have helped me along the journey. It has been a blast!
Second, I baked bread five straight days once my Lodge arrived, and my wife wondered out loud if I really needed to bake every single day. I did. (She’s totally on-board now: she bought me a 10-lb. bag of “Better for Bread” flour from Gold MEdal, and it produces a lighter loaf than standard white flour.) I wanted to experiment and fail and succeed and find something that worked and that I loved. I tried the recipe “as is” twice; I tried the quick, 2-hour, 2-tsp yeast method; I tried 4 C wheat flour with 2 C white; and I tried the cinnamon raisin idea. My 18-year-old son especially loved the cinn-raisin, so I have been baking that recipe every third day for three weeks now. (I have a loaf in the oven as I type.)
Here is what I have settled on:
1 tsp. cinnamon
6 C “Better for Bread” white flour from Gold Medal
3 1/2 tsp. salt
3 1/2 C water, heated to 110-115* F
2 tsp. quick-rise yeast for Red Star
1 C raisins
1 jar strawberry preserves
I stir together the cinnamon, flour and salt.
I heat the water in two glass measuring cups (1 3/4 C of water in each 2-cup glass measuring cup. My microwave on 2-minutes gets the water a little above 115*.
I sprinkle some of the yeast over the water, then pour the yeast/water into the flour mixture, then sprinkle more yeast on the remaining water, repeat, repeat until the yeast and water are in the flour.
I tur the mixer on low until it looks like Sofya’s pictures.
With the mixer on low, I then slowly dump in the Cup of raisins until they are all mixed into the dough.
Bake for 30-minutes on 500*, then let it sit until cool.
My son added the strawberry jam on toasted slices of cinn-raisin bread. We love it.
Oops. Since I am using the 2 tsp. yeast (quick-rise method), I let the dough rise for 2 hours so that I can bake my bread at night and then eat it in the morning before I go to work. I hated baking in the morning and then leaving for work while my loaf cooled! My family ate it while I was gone. 🙂