
Canning 101: The Basics
So, you’ve planted seeds or seedlings and then watered and weeded all summer. Now it’s time to harvest, and while much of your garden’s bounty ends up on your dinner plates, baked into goodies and eaten fresh as your pick it, there is generally an excess of fruits and vegetables. After all, you can only eat cucumbers at every meal for so many days in a row before you start to feel like you are, in fact, a cucumber.
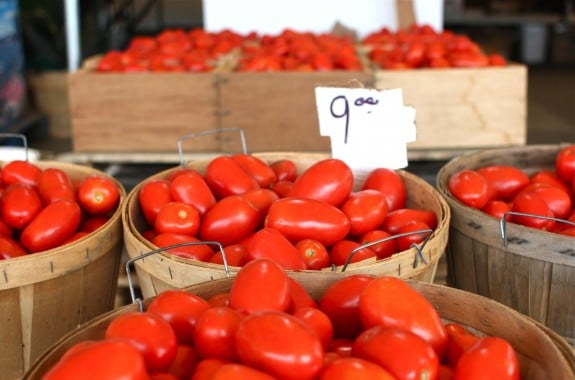
This is where food preservation and canning comes in. Canning is a wonderful way to store your fruits and vegetables from the garden or the farmer’s market while they are in season and make the harvest last through winter when local and seasonal foods are scarce.
Canning in both water baths and pressure cooking heats the food, killing any microorganisms that may grow, and also creates a vacuum seal in the jar. The vacuum seal will prevent any air from coming in contact with the preserved food that could encourage cell growth and cause the food to spoil.
ALL photos by Shaina
Why Can?
Yesterday Aimee asked why you choose to can. There are many reasons why you and your family may choose to can and preserve your own food. These are just a few. Be sure to check out why others can and join in on the conversation yourself!
**Canning saves you money.
**It is eco-friendly.
**Canning cuts down on waste.
**It’s fresher and tastes better.
**No BPA or additives.
What You Need to Get Started
- Canning Jars and Seals – use mason-style jars with sealed lids and rings, which can be found at most grocery stores
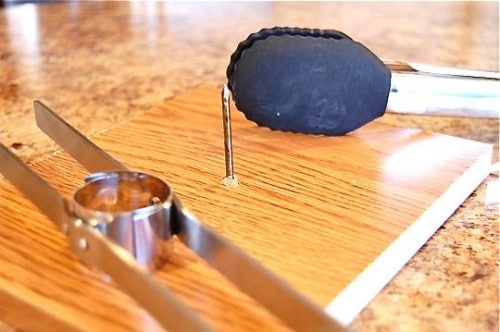
- Wide-Mouth Funnel – makes filling jars with sauces or jams easier and less messy
- Lid Wand – for easy removal of lids and rings from boiling water
- Ladle – for filling jars
- Large Pot – for boiling canned preserves and jams, fruits, tomatoes and pickled vegetables
- Pressure Canner – used for canning vegetables and meats because it has the ability to reach a higher temperature
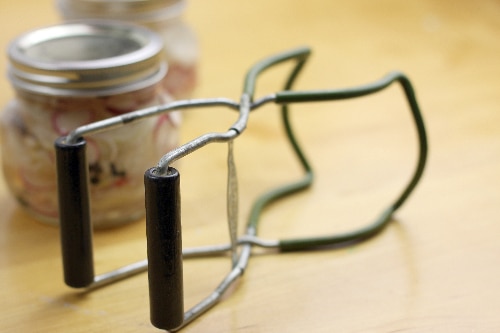
- Tongs of Jar Lifters – rubberized lifters make removing cans from their water bath less slippery, but a good pair of tongs can work just as well
- Clean Cloths – used to wipe down jars, lids and rims of jars
The Process of Preserving
1. Start by sterilizing your jars.
Wash your lids and jars in hot soapy water. Then move them to a boiling water bath for ten minutes to sterilize. Remove jars from the water bath, but leave the lids in the hot water until you’re ready to use them to ensure they don’t come in contact with anything before you seal your jars.
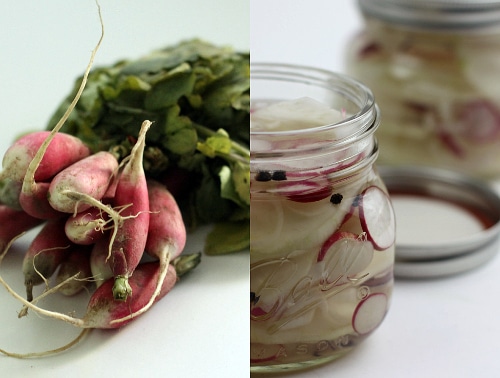
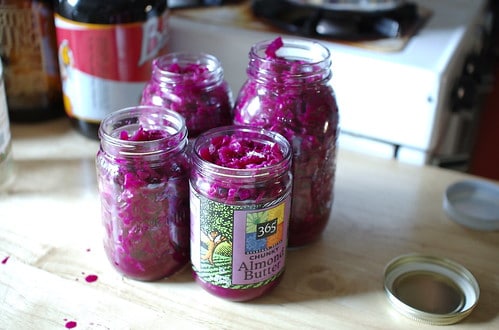
2. Slice, dice, pickle and pour.
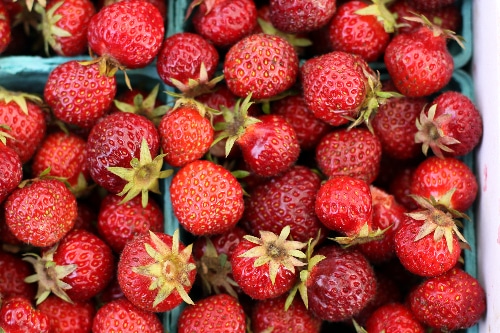
It is best to can your fruits and vegetables immediately after you harvest them for the highest vitamin and nutrient concentration. The longer a fresh piece of produce sits, the more vitamins it loses. Prepare fruits and vegetables by slicing and dicing, prepare your jams and preserves using your favorite recipes (or ours, as we’ll have several of our top recipes coming up this week), and pickle vegetables before placing in the jars.
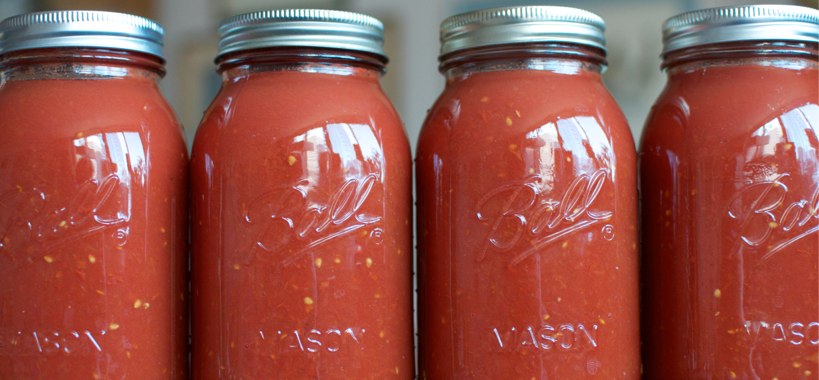
Tomatoes should have lemon juice or another citric acid added to them prior to canning to ensure their pH level is above 4.6, and ascorbic acid solutions can be added to fruits to prevent browning prior to placing in jars.
Iron, aluminum and copper should not be used when preparing your fruits and vegetables to can. These metals can cause discoloration of the produce.
3. Fill your jars.
There are a few things to remember when filling your jars. First, be sure not to fill them completely. Produce expands during the boiling process, so leaving adequate space at the top prevents the jar from leaking and making a mess.
After filling your jar with produce, unless canning jams, jellies and preserves, you’ll be pouring liquid to submerge the fruit or vegetables. Pour the boiling water, pickling solution or juice to cover up to the top of your produce.
Make sure there are no air bubbles along the sides of the jar and that the produce is submerged in the liquid. Wipe the rims of the jars down with a clean cloth and cap with the flat sealing lids and rims.
4. Process your jars.
Preheat water in your pot or pressure cooker. For hot produce, water should be preheated to 180º F, and for cold produce, it should be around 140º F. This will help prevent the jars from cracking when they are placed in the pot.
Water should be an inch or two above the top of the canning jar when they are placed in the pot for a water boiling process. Use a pressure canner according to the manufacturer’s directions to determine the amount of water needed in the bottom prior to adding the jars.
Add the jars using your tongs or jar lifter, and place them in the vessel so they are not touching. Place the lid on your pot or pressure canner. With water bath canning, bring the water to a slow boil and then start your timer to process for the length of time dictated by which vegetable you’re canning and the altitude at which you live. For pressure cooking, you’ll want to check for the length and temperature needed for your region as well.
Helpful Links:
- Find your elevation.
- Processing times table from National Center for Home Food Preservation
5. Remove your jars and let them cool.
Place your jars on a flat wood or cloth-covered solid surface to let them cool. Let them sit for a day to completely cool. While cooling, your jars will start to pop, creating the vacuum seal.
After they have cooled, press down on the center of your jars to ensure they have sealed completely. Any lids that spring back have not sealed and can be placed in the refrigerator and eaten first.
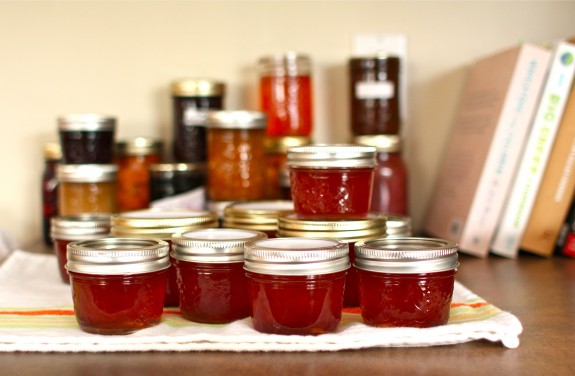
6. Label and store your preserved food.
Label your jars with the contents and the date. You can write directly on the lid with a Sharpie or download and print or purchase specialty labels for your jars.
Once you have them labeled and have wiped off any food pieces or water from the outside of the jar, store your food in a dark, dry place until you’re ready to enjoy.
Do you can your own produce? What are your favorite foods to can and preserve?

That’s a great idea! My guy and I both like different kinds of jam/jelly – he likes grape, but hates strawberry, and I’m the reverse so getting both is expensive. Plus, store-bought jams and jellies seem to have a LOT of added sugar, and we have pretty sedentary jobs and lifestyles now.
On the mason jars – I’ve noticed Wal-Mart carries a bunch of different sizes, including mason drink mugs with straw lids. I had an idea to use dry-erase paint on the sides to label them, but would they get ruined during the water heating portion of the process?
On the U-pick farms: WOW! So glad I will be moving to the Tampa area in the next few months. Maybe once we’re settled, I can try canning for the first time!
Can you make canned fruit into jam if the fruit is out of season?
Very helpful post. I prefer longer posts and I like to explain everything from scratch. Thank you for sharing.
This is so old article but still it is very useful. thanks Shaina
Hi
Can you use extra pectin to have a less runny or thin jam.
Thank you
Priscilla
What are some examples (or the definitions) of “hot produce” and “cold produce”?
I’m so excited to start canning! This looks like a great guide!
This post is so helpful! I’ve been wanting to start canning for years, but I always felt intimidated by the process. Thank you for breaking it down into simple steps and providing clear instructions. I can’t wait to try canning some fruits and vegetables now! 🍓🥕