The after school gingerbread project: icing and assembly
Last night in the bakery section of my supermarket, I spotted a stack of generic kits for gingerbread houses. I wasn’t tempted to buy one in the slightest, knowing that we were all set at home to assemble our very own, freshly baked creation.
Now that we have prepared our ingredients, mixed our dough, and baked our pieces, it is finally time to raise the walls and put a roof on our gingerbread house.
No, we’re not going to fully decorate in this post, because it is best to let the house dry overnight before adding roof tiles and all the other details. At least, this is my experience. You can certainly carry right on through if you like.
Let’s get to the recipe for royal icing and the assembly process.
Royal Icing
A reader emailed yesterday and asked about the icing:
“Is there a reason why you can’t use just regular icing for the house? Is it not strong enough to hold?”
It’s a good question. By ‘regular icing’ Jamie was referring to a basic butter frosting, certainly delicious on birthday cupcakes, but not quite the material that we are needing for our project.
Royal Icing is super fast drying, which is a huge help for the construction part – especially if the house is being built by overly-enthusiastic yet under-experienced small hands. It also hardens like cement, whereas butter icing will get crumbly. If you’re planning to keep your gingerbread house around for a few weeks to admire and use as a holiday decoration, you need a hard icing with no butter in it. This is also why I suggest using meringue powder; it’s still considered edible after sitting out for days.
Basic Royal Icing
Ingredients
- 2 cups powdered sugar
- 2 Tablespoons meringue powder
- 3 Tablespoons water
Instructions
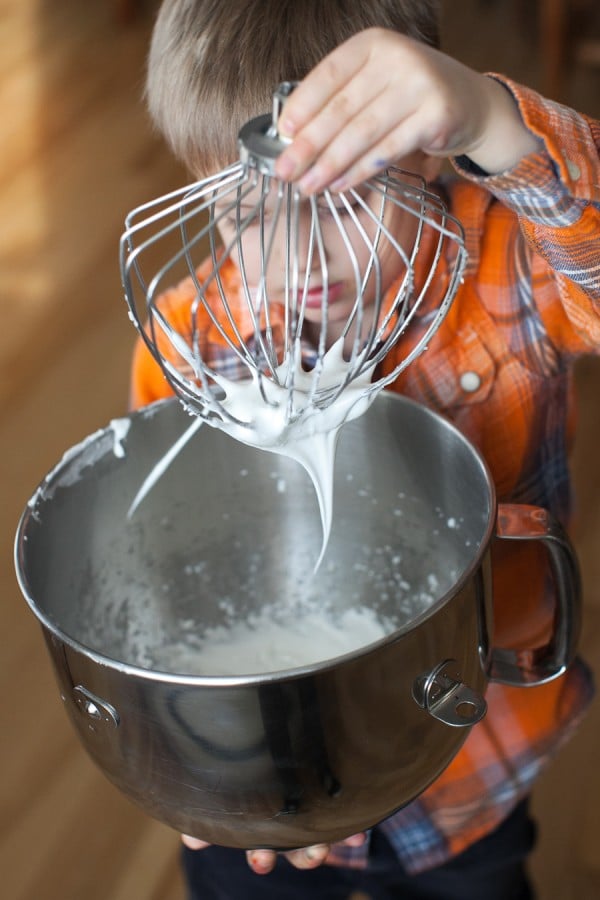
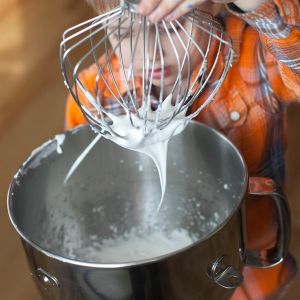
- In the bowl of an electric mixer fitted with the whisk attachment, combine powdered sugar and meringue powder.
- Add the water slowly. Beat at medium-high speed until stiff peaks form (about 5-7 minutes).
- Transfer icing to a piping bag, a medium ziplock bag, or an airtight container until ready to use.
Notes
Nutrition
Tip: No meringue powder? I’ve used this Royal Icing hack from Elise of Simply Recipes, using warmed, raw egg whites instead. It’s tricky, and I have cooked a couple of egg whites, but it does work in a pinch.
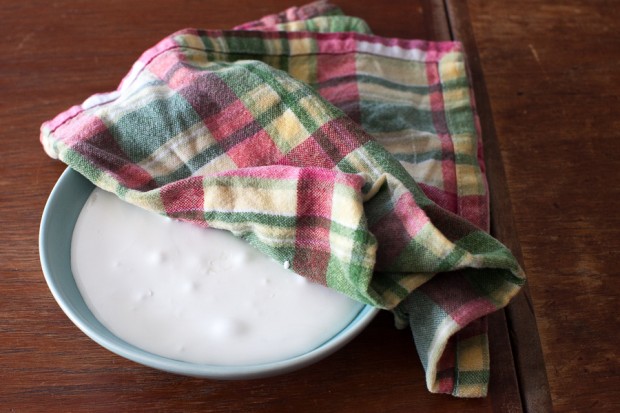
Tip: Cover your royal icing with a damp cloth to keep it from drying out and hardening before you get started.
Assembly
Prepare your icing for the gingerbread house construction by filling the corner of a Ziplock bag with about 1 cup of icing. Snip off the very tip of the bag so the icing can squeeze out.
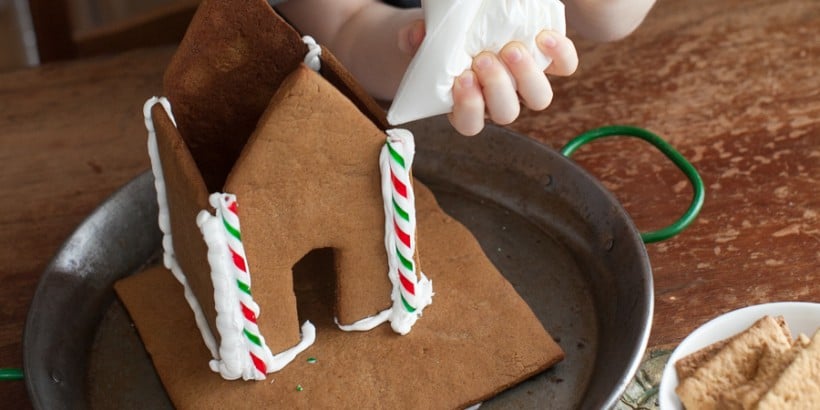
This is where it helps to have a teammate! Noah expertly piped our gingerbread house and Mateo held the pieces in place.
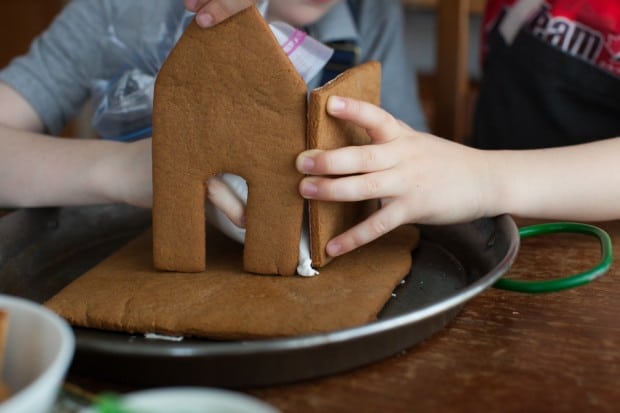
Begin with sticking your base to your tray with a little icing. Locate all four walls and keep them close by.
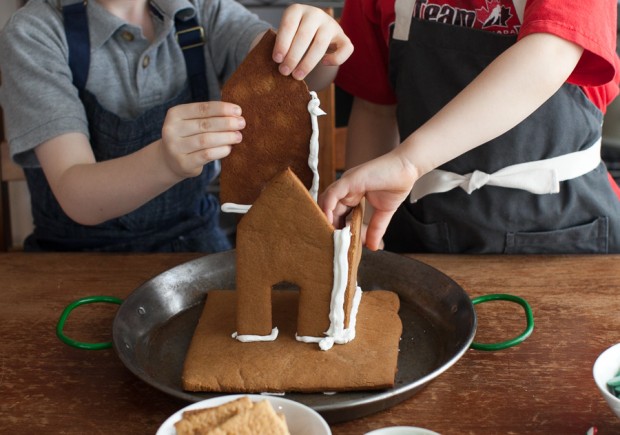
Pipe along the bottom of the walls as shown above, then pipe a line of icing down the side of the walls and stick them in next to each other. Have an extra set of hands to help hold the walls in place.
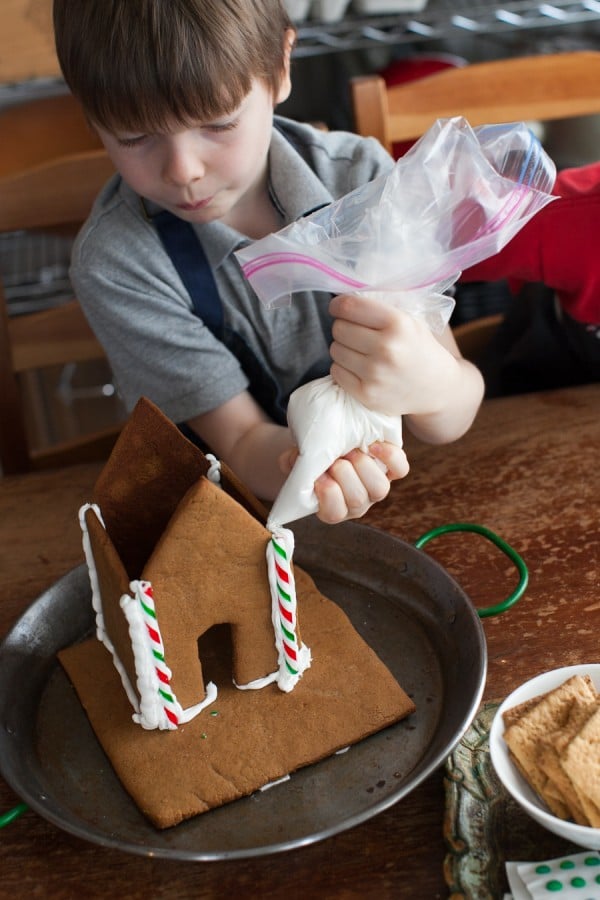
Once the 4 walls are up, let the icing harden for 5 minutes or longer before you begin on the roof. We added a loooot of extra icing to make our walls super strong. Then we use two candy canes as pillars to help keep that icing in place.

For the roof, pipe a generous line of royal icing along the top of the wall and up to the peak of the roof.

Place a roof piece onto the icing, making sure to leave an overhang on the bottom, and hold it firmly in place for a few minutes. Repeat with the other side until both roof pieces are attached.
Pipe around the edge of the chimney and fix it in place toward the back of the roof’s ridgepole.
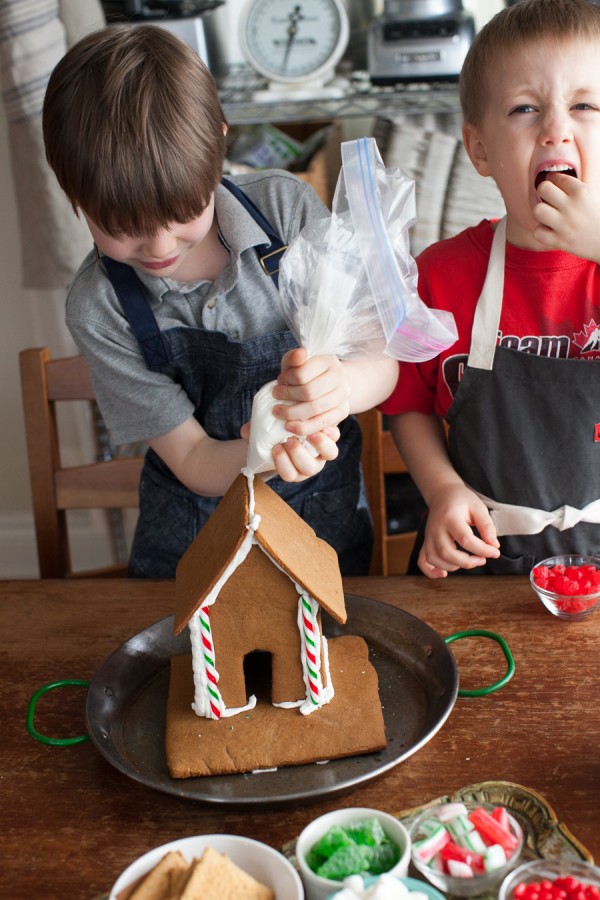
Have a candy break if you need one, like Mateo above, then place your assembled gingerbread house in a safe place to dry overnight. See you tomorrow for decorating it up proper!
Coming Up:
Introduction to the after school gingerbread project.
Day 1: List of ingredients and equipment.
Day 2: Make and chill the dough.
Day 3: Cut and bake the pieces.
Day 4: Prepare Royal Icing + assemble the base.
Day 5: Decorate!
Aren’t these boys doing a great job? It’s really taking shape now.


Those boys get cuter every day! They are doing a fantastic job. My little guy saw the pictures and asked to make a gingerbread house like “those big boys”, so we’re trying this weekend. We already have some dough in the freezer from making gingerbread men last weekend, so we’re skipping a few steps. Thanks for the great recipe and all the wonderful advice!
Colleen, what fun! Sounds like the best weekend ever. Email me a photo when you’re all finished!
Lovely! My years old son and I are following your progress with much interest and enthusiasm:-)
Yes, your children are so beautiful, such determined individuals to make it all happen… So inspirational at this advent time…
Looking forward to the decoration steps.
All the best!
Thank you for reading along. We are so appreciative that we can share our fun with you.
Decorating tomorrow!!
I love seeing the boys doing this themselves. I never had the patience to do this with my kids when they were little. But they were happy to cut shapes out with cookie cutters, mix up dough, roll dough into balls and do simple sugar sprinkle decorations. They’re grown up now and still love cookie baking (or love to be around while I’m doing it 🙂
Oh, we love decorating cookies too! That’s actually excellent practice for a full house. 😉
I am so impressed with how Noah is handling that icing bag, I’ve hardly ever used one and I’m not sure I would handle it that well. 😉
Hah! This is probably his third year making a house and when we decorate cookies, he always wants to pipe. His technique needs work, but he’s got the basics!
Aw. Those boys are just adorable assembling their house! They’re doing such a good job. Those aprons are adorable, too. Where might one acquire one or four?
Hehe. Those aprons are as comfortable and functional as they are cute. From the ever-awesome Hedley & Bennett.
http://www.hedleyandbennett.com/
Would you believe I’ve never made a Gingerbread house in my life? Your boys definitely have one up on me, and I feel like I could tackle one now, with their expert instructions. This may be a Christmas tradition we start with Evan. So fun!
Sounds like a good tradition to me. 😉
Well, your boys have three little girl fans here at my house! I have promised them a gingerbread project of their own next week and they have been eagerly studying your photos here in anticipation. Eila (my 5 year old) just keeps saying, “Wow! Those boys are such good builders.” LOVE this series!
Oh yippee! And good for you!! Love that you will be making memories in the kitchen. Please send photos of your project!
So cute! I hope I’m as good a Mom as you are one day! 🙂
I’ve only ever done a gingerbread house kit, but you make from scratch seem so doable I may never be able to let myself buy a kit again!
We are having a blast creating our house! Do we need to wait overnight after assembly to decorate? We are assembling today and I’d like to decorate today too. ??
Keep going! We often decorate in the same day if we have time. Have fun!