Our Beer Chronicles: Part 1
If you want to brew your own beer at home, and learn how to do it more or less “properly”, there are innumerable blogs, books, videos, podcasts and conferences that you can use to learn. This is my preferred route, as I like to know what I am doing, and why, and what will go wrong if I don’t do it.
I’ve learned, though, that for some things, it can also be good to just jump in and get some hands on experience – ideally with someone guiding you through the process. And so that is what I have done with some of my co-workers who have brewed together in the past with reasonably good results.
Based on the “Mild Mannered Ale” we made together a few months ago, which was fantastic, I’d say the recipes and process we followed so far are pretty good, and so we had the itch to give it another go. I’m reading up in bits an pieces along the way, and figured I’d share about my basic understanding of the process.
If I could summarize beer-making in as short and simple a description as possible, I’d say this: Beer happens when you let yeast attack water with sugars and flavours. We made 3 different beers, and each one was a different layer of complexity on this concept. We started on the 2 more complicated ones because they take longer.
Unfermented Beer
The shortest of summaries represents well what happened with the Festa Brew. This is essentially 23 L of liquid that has all the right kinds of sugars and flavours (this liquid is called “wort”, and is pronounced “wert” – which rhymes with “shirt”), and you add a packet of yeast, and then let it ferment.
We had heard claims that this method required about 6 minutes of work, and it was not far off, although the yeast part was apparently complicated by getting the right temperature of water, so this batch probably took us 20 minutes total.
Extract Beer
The next level of complexity involves adding the flavours to sugared water, and then adding the yeast. The sugared water is prepared by adding “extract” to water, and is aptly named the extract method. The extract comes in powder or liquid form – we used the powdered form. The flavours added to this are malted grains and hops.
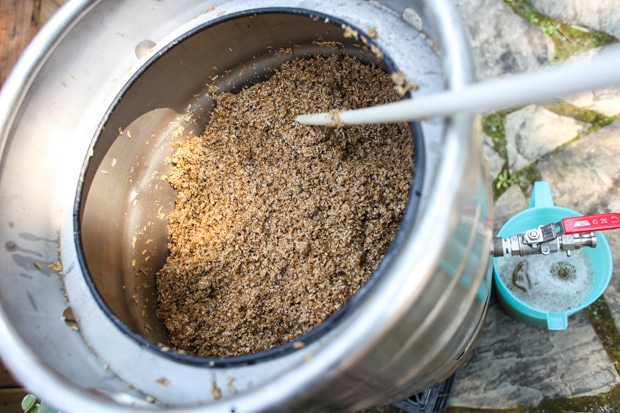
Before adding the malted grains, you steep them in a certain temperature water to extract the flavours (more sugars, really). I now appreciate better why some people are particular about the water temperature that they steep their teas with. From what I’ve read, the water temperatures will affect both the quality and quantity of sugars. You don’t want things getting too bitter, and you want enough flavour extracted to make your beer tasty.
Once you’ve steeped your grains, you add that “tea” water (no more grains wanted in the water, so make sure to filter them out) to the water with extract and boil for a time determined by the recipe – which from what I gather is essentially to concentrate the sugars.
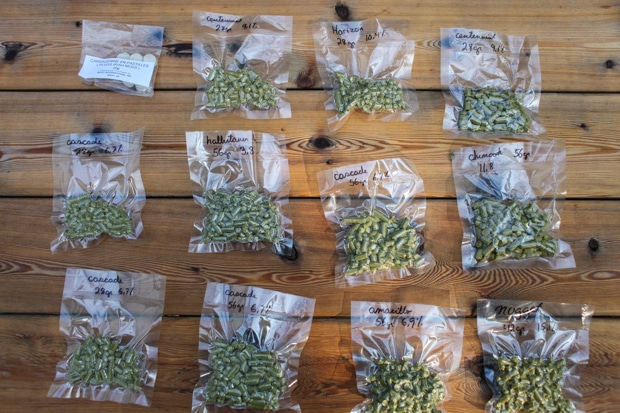
While you are boiling, you add hops. Hops can be added at the beginning, middle or end of the boil, and the lingo in recipes is to add them with XX minutes remaining in the boil. We had to add some at 90 minutes, 15 minutes, 5 minutes and zero minutes before end of boil. The longer the hops are in the boiling water, the more bitterness is produced. Oh, and you should be putting the hops in a little bag so you can take them out easily prior to the next step.
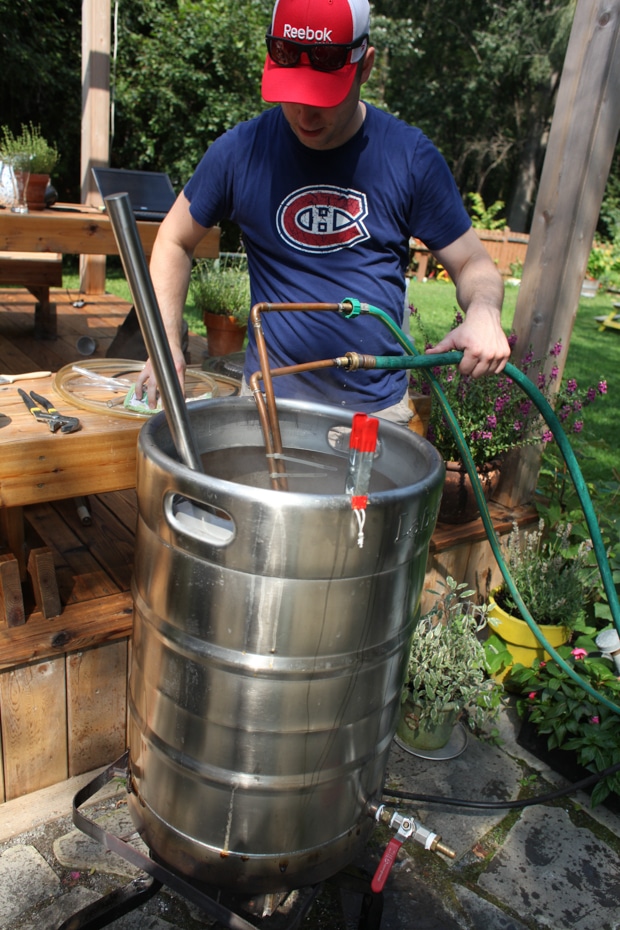
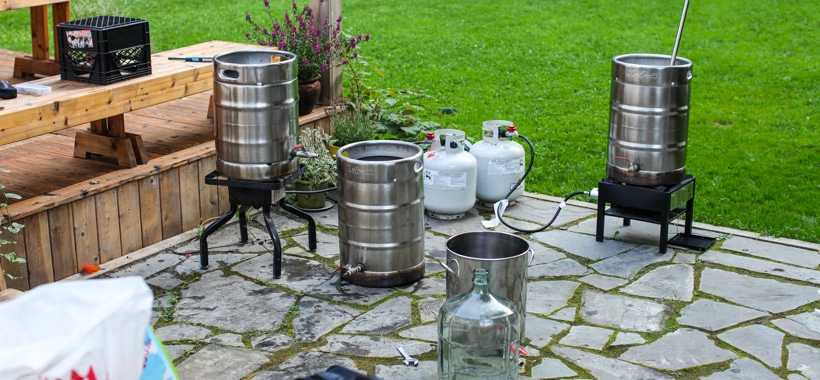
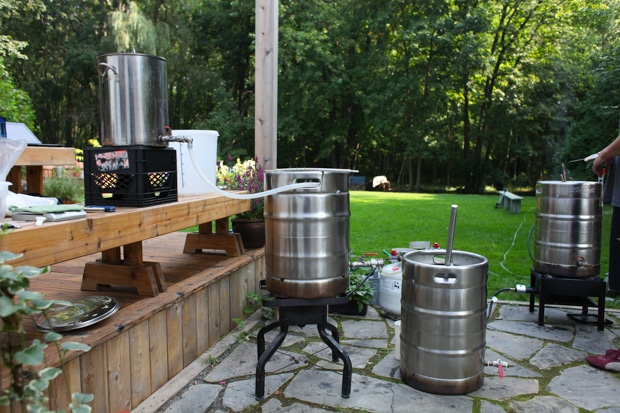
Once you’ve boiled the required time, you cool down your beer as fast as you can. Some people put their pots in an ice bath, some use heat exchangers. We used a coil of copper pipe connected to our garden hose. Probably not the best option if you are in an area with water restrictions due to drought, as we had the hose running for about 15-20 minutes or so. And you DEFINITELY cannot use the first few minutes of water on your garden, as it comes out at near boiling temperatures. (you shouldn’t even hold the hose, as I’ve learned).
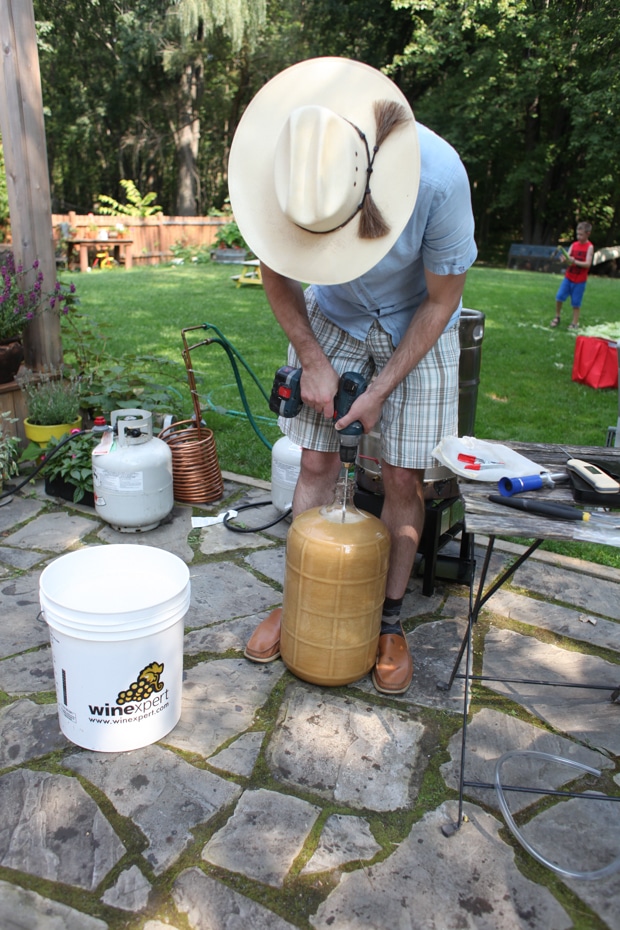
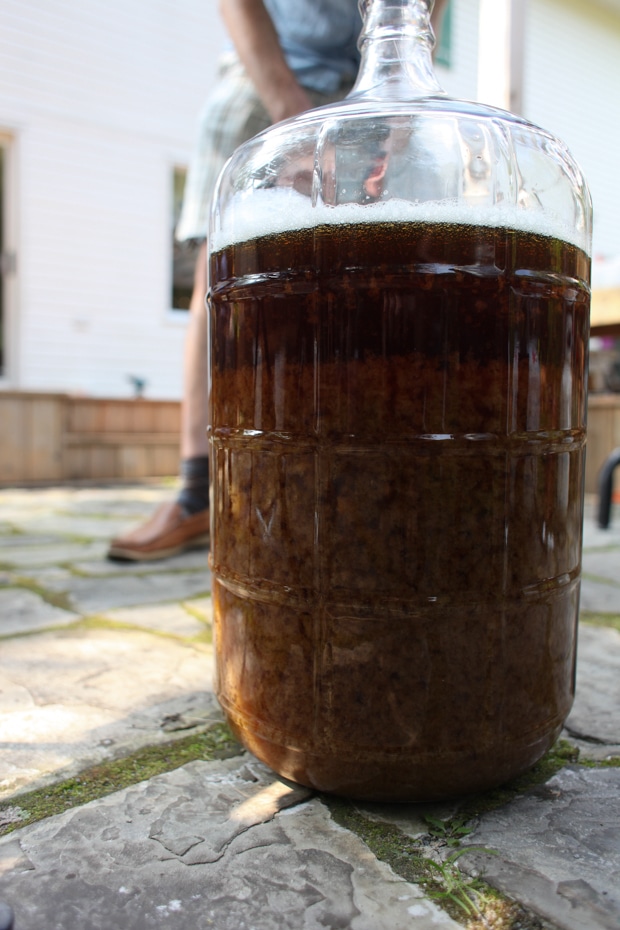
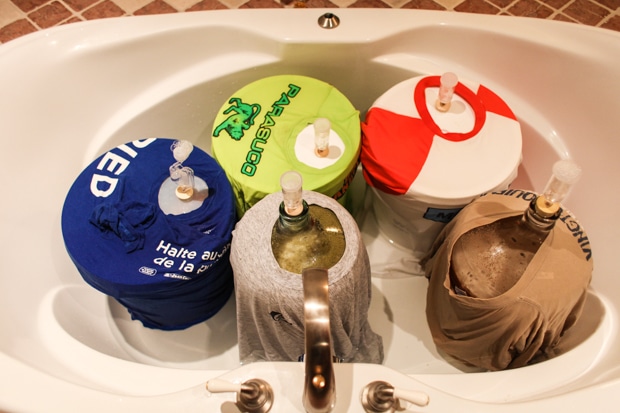
Once your beer is cooled, you are essentially at the Festa Brew step as per above, and you simply add yeast, and then transfer to a fermentation container. This beer took about 4.5 hours, including cleanup.
All-Grain Beer
The most complex of the methods involves wresting the sugars directly from the grain instead of using extract, and then adding your flavours and hops as per the previous methods. This method is aptly called “all-grain”.
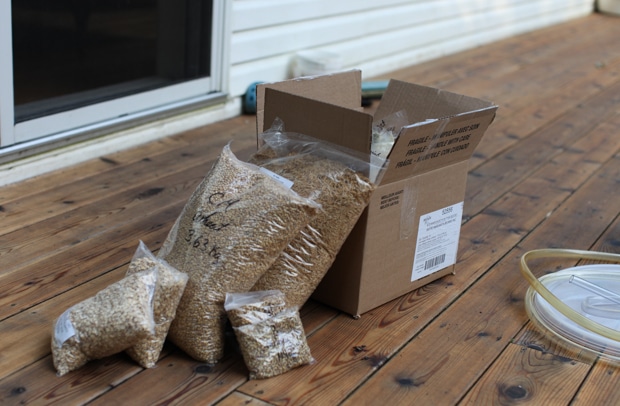
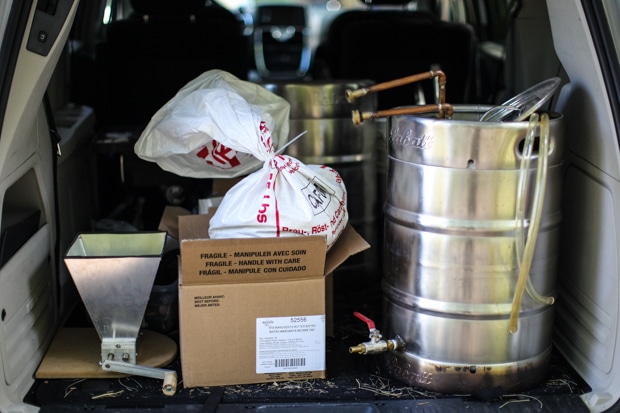
We used nearly 30 lbs of grain to make this one, and it all came unmilled. It took us a few tries before we had set the grain mill to where we wanted it; grains cracked and in pieces, but only just. No powder! Once we had the settings, the highly interested boys were able to come and help.
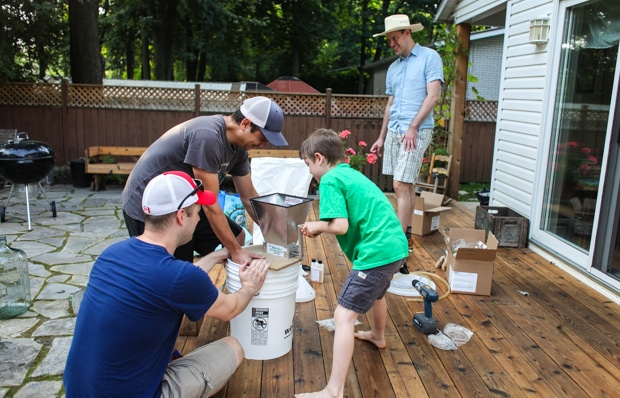
They each tried for a while, before they realized that this could be considered “work”, and then lost interest in our brewing for the rest of the morning. What with setting up the mill, it took about 20-30 minutes just to mill all the grain.
We used computers and special software to calculate the volume required to steep (OK, brewers call this “mashing”, not “steeping”), and were nervous as we were adding the grain, as we were getting mighty close to the top of our mashing vessel! It turns out the software accurately accounted for the grain absorption of the water, and everything fit just fine.
Once you mash for about an hour, you start “mashing out”, or getting the liquid out of your steeped grains. You only get a certain amount of the sugars out when you do this, so you can “sparge”, which is essentially rinsing the grains with hot water to get as much sugars as you can.
The milling and mashing process involved with all-grain added about 2 hours to the time for us. We then boiled, added hops at the appropriate time, cooled the wort, and then put into fermentation vessels just like the other 2 beers.
Other Stuff
There are rules about how “clean” things can be during beer-making process. Anything that touches the beer prior to being cooled should essentially be “not dirty”. You’re boiling the stuff for about 90 minutes, after all, so any bad germs will get boiled off.
Once you’ve cooled the beer, however, you should be increasingly fanatical about keeping things “sanitized”, which mainly involves washing stuff and then spraying it all over like crazy with a sanitizing solution. Every tool, hand, thermometer, bucket, hose that touches the beer when it is cold should be sanitized.
There are also rules about when you want to get air into the beer, and when you DON’T want to get air into the beer. I’m still not 100% clear on this, and I think I vigorously stirred something that I shouldn’t have at one point, and so switched jobs to spraying stuff with sanitizer instead.
Part 2…
Fermention is essentially letting the yeast do it’s thing at the right temperature. If you’ve done things right, the yeast should have enough sugars and nutrients and stuff to stay alive for a long time and do its job, but temperature is also a factor. And then, of course, you have to bottle it – which will be described at a later date in a different post.
Homebrewing. Have you tried it? Has it been a good or bad experience for you?
Oh, my home seems to be in a near constant state of brewing. Living in Portland, OR it seems like brewing your own beer is almost required! My husband has been brewing for several years and now brews for home, work events, and a recent school fundraiser. At this point, I understand the brewing process and occasionally get roped into helping stir and hold, but I try to stay out of it… until tasting time!
It seems like brewing is one of those things where you can always be learning more, and it’s been nice to see my husband move from learner to teacher with his friends. One point several years ago, we ended up with one of the brewers from Deschutes Brewery at our house helping with a batch of “Frankenstein beer”… a beer to use up all the extra hops left over from previous batches. That one wasn’t the best tasting concoction, but a good learning experience!