Meal Prep 101: How to Freeze Grains
My mother instilled a love of whole grains in me from a very early age, back on our original homestead in the Yukon.
I can still picture the orange oval cast iron pot that she would set in the middle of the table at meal time when the six of us were gathered. That pot of rice or barley or millet rounded out most of our meals, filling the corners in the tummies with comfort.
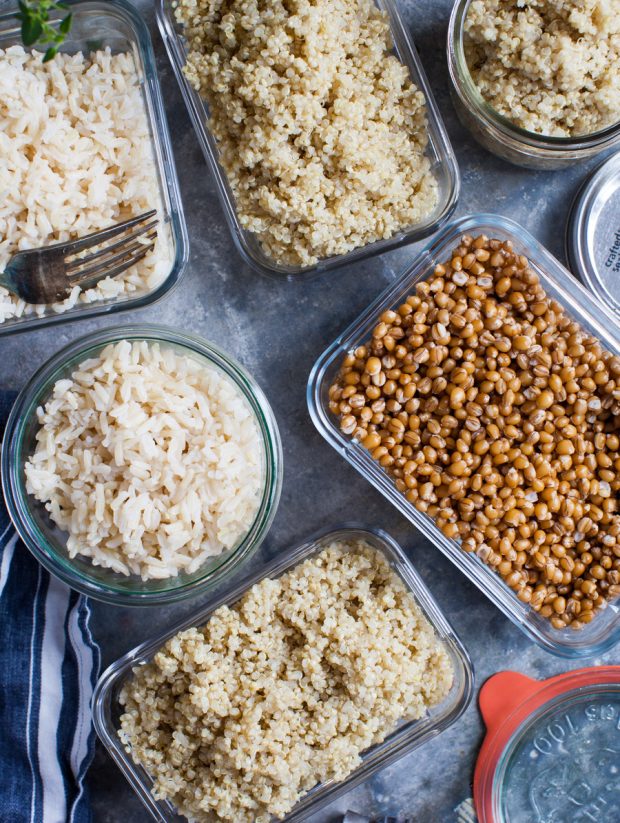
Nowadays grains of all kind fill my pantry – red quinoa, basmati rice, wheat berries and farro, in addition to my childhood favourites. I add them to everything from citrus salads to quick stir-fried dinners.
You all know that meal prep is key for helping me to get organized for dinner and I’m also a long-time believer in batch cooking. Freezing big batches of grains checks both those boxes and makes my life a little bit easier; here’s how I do it.

How to Freeze Grains
Today’s simple tutorial is how to freeze and successfully thaw grains. Sure, most cooked grains will keep in the refrigerator for up to four days, so if you are just meal prepping for the week ahead, it’s not always necessary to freeze them.
However, I mainly freeze quinoa, brown rice pilaf, etc in small, 1-2 cup portions so I have have them for a mid-day salad or side without having to turn on the stove or babysit a pot of rice. If I have whole grains portioned off and frozen in my freezer I am far more likely to include them in my Monday-Friday meals when life is hectic.
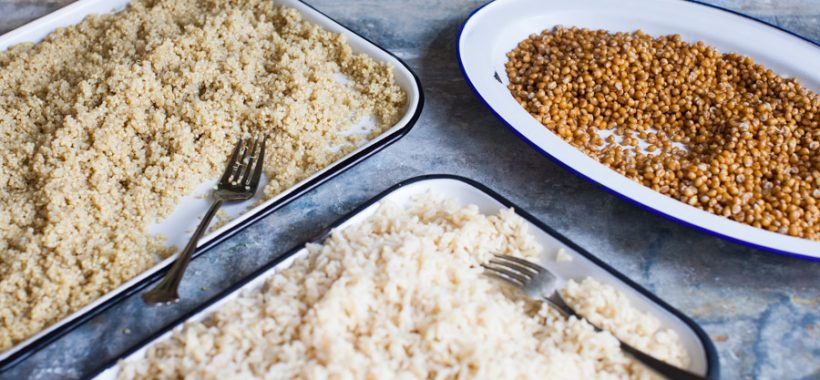
Step 1: Cool the cooked grains completely on a tray or sheet pan. You want them to dry properly so the extra moisture doesn’t cause them to clump. Use a fork to fluff the grains after a few minutes to vent the steam.
Step 2: Portion cooked grains into reusable, eco-friendly containers. I use an assortment of sizes, depending on my needs. I avoid the disposable plastic re-sealable bags that are so popular for this particular task. In my attempt to move towards a zero-waste kitchen, I’ve eliminated single-use plastic bags from my cupboards and stick with glass food storage containers with lids instead. Just be sure yours are microwave and freezer safe (mine can go in the oven too).
Step 3: Label containers and jars with the date and ingredient – and freeze! Even if the containers are glass and see-through, I try to write what’s inside for quick identification. ** Freeze grains for up to three months.**

How to Thaw Grains
I find that rice is best defrosted straight from the freezer, while heartier grains can defrost overnight in the fridge and not turn to mush. I usually defrost in the microwave for a quick thaw; the time varies per grain, just take it a minute at a time.
If I am adding the grains to something hot, like quinoa to a lentil dish, I will just add it in frozen. This adds a few minutes to the cooking time.
You’ll find the texture of previously frozen grains nearly identical to just-cooked. It helps to buy the best quality you can afford; freshness is definitely an important factor in maintaining the integrity of these whole grains.
Check out the products from my friends at Flourist (previously GRAIN) who source Canadian grown 100% traceable grains, beans and freshly milled flours.
Let me know how you freeze grains and what you’re using them for afterward.